The Wisconsin Master Tradesman’s guide to sump-pump prepping for nice, clean, DRY basements.
Southeastern homes typically experience one of three levels of groundwater infiltration:
- My sump pump never runs.
- My sump pump runs only during heavy rains in the spring.
- My sump pump or pumps never shut off.
In this guide put together for you by the Master Plumbing Team at Austin Plumbing, Heating & Air, you can rest assured your sump is ready for spring and insure you have an active sump pump that never shuts off, it stays running.
Tools you will need to get your sump pump ready for spring.
- Wet /dry shop vacuum
- Garden hose
- Flashlight
Steps to get your sump pump ready for spring.
Because most sump pumps sit dormant all winter long, they haven’t been exercised in a while. You wouldn’t just get off the couch and run a marathon, right? This is why exercising your sump pump is the first step in getting your sump pump ready for this Wisconsin spring.
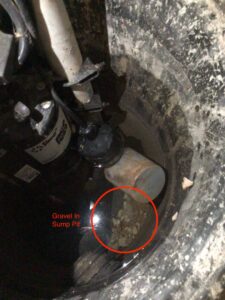
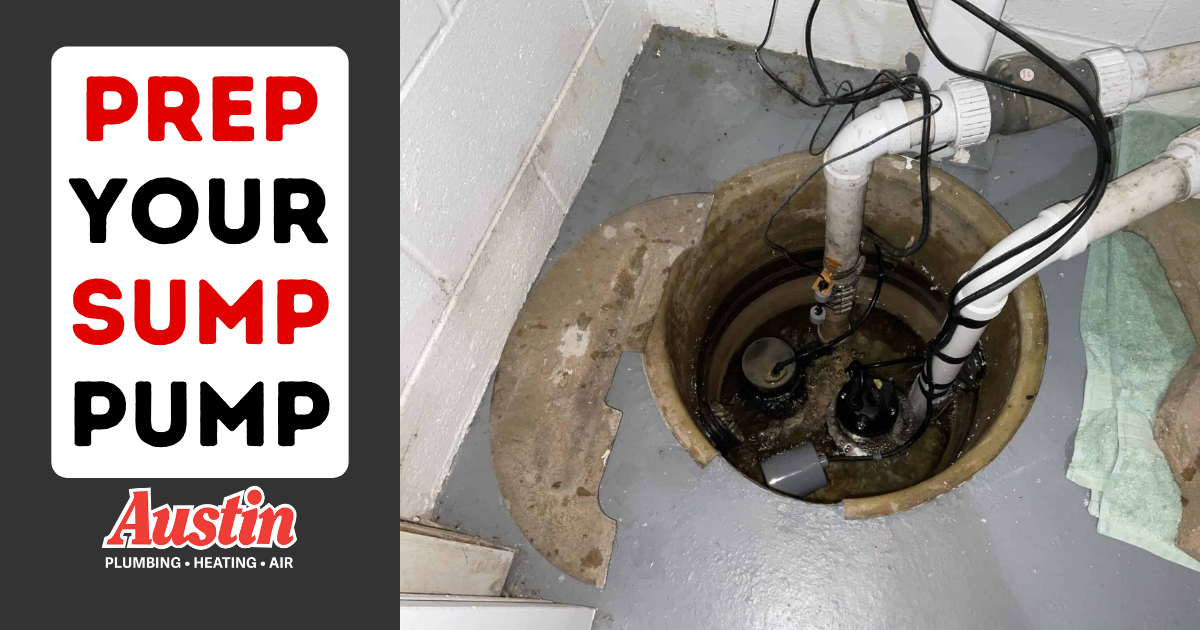
Vacuum and clean the sump crock.
During the rainy season, rocks, gravel, and sand can make their way to the sump crock, a great first step to getting your sump pump ready for spring is to clean out the crock. We realize this is not always possible, but if you have little to no water flowing into your sump pit, this is a bonus step that will prevent a lot of sump pump problems!
Check the discharge piping outside.
What we are looking for in this step is to make sure the sump discharge line is open, free of obstructions and will not cause sump pump water recirculation. Things to look for with your sump pump discharge piping:
- Is it free from obstructions such as shrubs and bushes?
- Does it pitch away from the house?
- Does it extend at least 3′ away from the house?
- Once the water leaves the sump discharge, where will it go?
Pro tip– If you need to extend the sump pump discharge, use a larger pipe.
Many folks extend the sump pump discharge piping temporarily in the spring with a small 1.5″ hose and extension.
Test and exercise the sump pump.
- Run a garden hose to the sump pit from your water heater or pressure tank. If you’re really up for it, you can pair getting your sump pump ready with checking your pressure tank.
- Put the end of the garden hose into the sump crock and place something heavy near the end of the hose.
- Make sure the garden hose isn’t interfering with the sump pump float switch or float rods.
- Run water into the sump pit.
- Observe.
Observe the sump pump on and off point.
Like any motor, sump pump motors last longer if they run longer. So we want to get maximum run time out of the sump pump vs. having it short cycle.
- Does the pump turn on before the water gets up to the drain tile? If so, there may be room to adjust the on point up.
- For submersible sump pumps, when the pump turns off there should be ample water covering the bottom ⅓ of the pump
Check the discharge pipe for leaks.
With the sump pump cycling on and off as if it were in real use, now is a great time to check the sump pump discharge piping for leaks.
- Inspect the check valve for leaks.
- Inspect any rubber couplings on the sump piping for leaks.
Check the sump pump output.
Water flow during rains can vary, so it’s not possible to stress test the sump exactly as it will be used during the rains. Here are some signs that your sump pump’s output is adequate for most situations.
- The pump can keep up with a garden hose at full capacity.
- The pump is able to turn on and shut off while a garden hose is running at full flow into the sump pump.
- When the pump is running, the discharge pipe is full.
Check the outdoor discharge pipe for leaks.
With the sump pump turning on and off, head back outside to get your eyes on what is happening with the discharge water. Keep in mind that the goal of the sump pump is to get the water as far away as we can from the house.
- Make sure the sump water is draining away from the house.
- Make sure the water isn’t flooding any landscaping, outdoor lights, etc.
- Inspect the outdoor discharge for leaks that may have developed over the winter.
Pro tip- When you leave the sump pump and garden hose unattended be sure the hose is securely in the tank to avoid it jumping out. Also check to make sure the garden hose isn’t leaking or dripping at its connection to the pressure tank or water heater.
Exercise the pump at least ten times.
Running your sump pump through at least ten start and stopping cycles should be enough times to “burn the cobwebs off”, so to speak. It’s perfectly fine to run the sump pump through more than ten test cycles as well. If you really want to stress test the pump, you can let the pump run for the duration it typically runs during a hard rain.
Clean up & wrap up.
- Turn off the water that you are using to exercise the sump pump system.
- Drain the garden hose back towards the sump pump to avoid a mess in the basement.
- When you get near the sump pit, carefully remove the hose from the pit to avoid hitting the pump or the on and off float.
Your sump pump system is now ready for spring!
Completing this sump pump maintenance procedure and testing is the most comprehensive way to ensure your sump pump is ready for the Wisconsin spring rains.
Contact Austin Plumbing, Heating & Air for expert sump pump service & maintenance.